3D Design: Character Design

MeetMat
Texturing, Rigging and Animation, these were the goals of this assignment.
And for achieving that we were given MeetMat, a small 3D-Model, which we then had to texture, rig and create a little animation for.
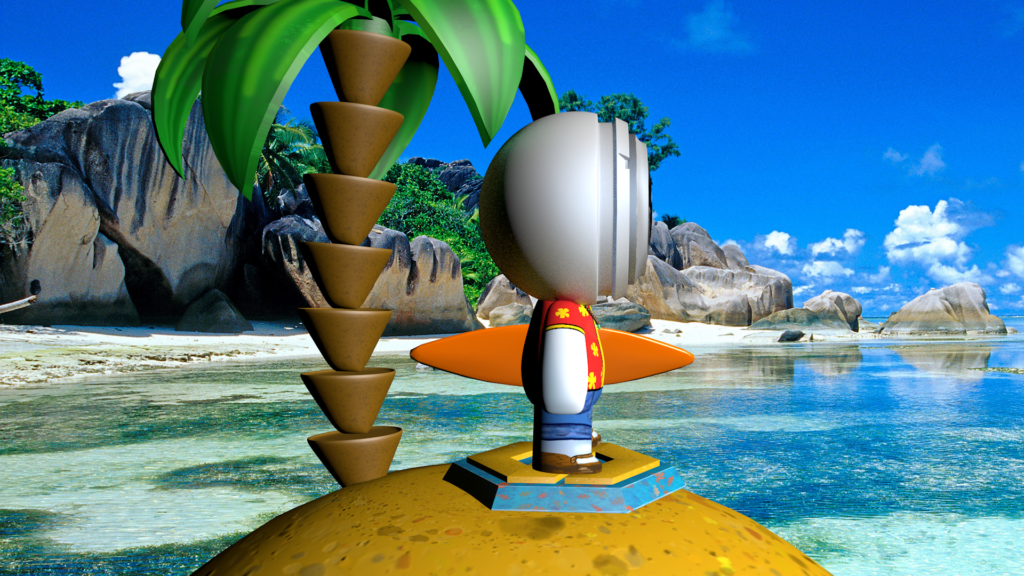
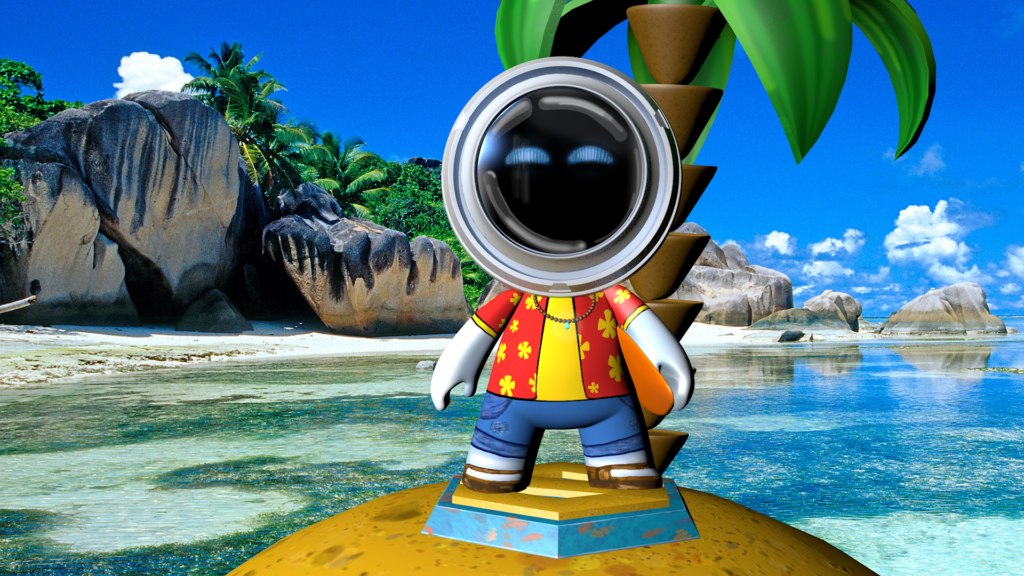
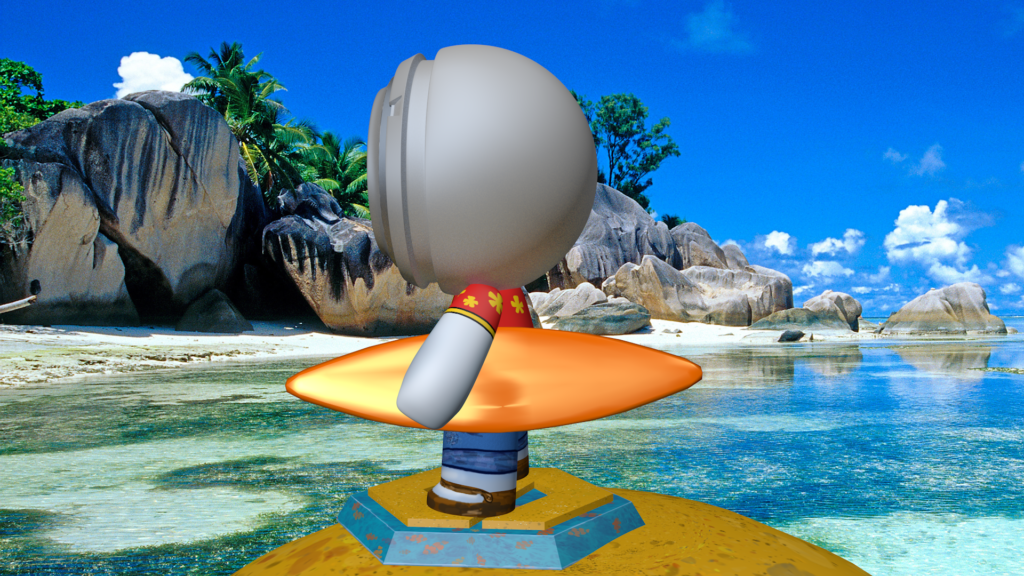
My idea was to turn little MeetMat into a cool Surfer-Dude! 🌊🏄🤙🏼
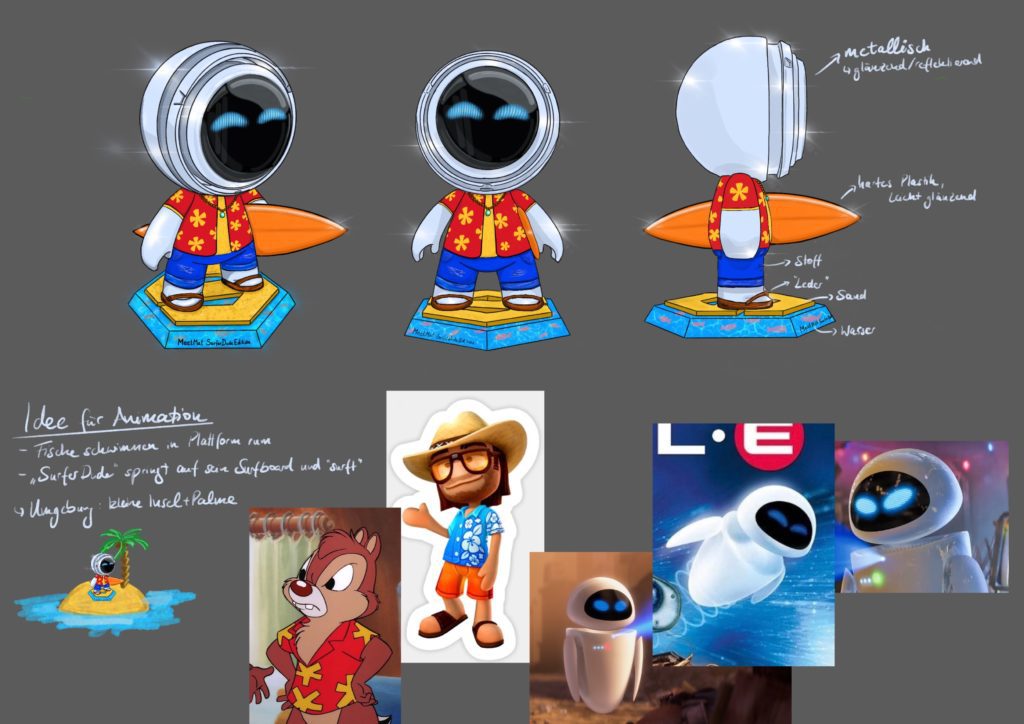
So the first thing I did was to look for some inspiration and references. I also watched some tutorials on how to create textures to get a sense of what was possible.
Then I put all of my „research“ into a small moodboard and designed his look using Procreate.
But before I could start creating textures in photoshop, I had to UV-Map MeetMat first.
Our professor explained UV-Mapping as „pulling off the skin“…if that’s to gory for you, Wikipedia breaks it down as „projecting a 2D Image onto the surface of a 3D model to create texture mapping“.
After successfully UV-Mapping MeetMat and dividing the mesh into useful parts, the fun of texturing in Photoshop begun. The biggest struggle here was rethinking the 2D mesh into a 3D object again to therefore paint the right spots.
Rigging was a bit of fiddling work because you had to work out the right weight points of the model, which was really important to gain a natural look for the animation.
Animating MeetMat aka my Surfer Dude was probably the most fun and rewarding part of this exercise as it meant seeing all of the previous steps combined, bringing my little Surfer Dude alive!